Follow Me On Social Media!
Crumbl Molten Lava Cookies: Soft, Gooey, and Irresistibly Indulgent
Introduction to Crumbl Molten Lava Cookies (Soft, Gooey & Chocolate-Filled)
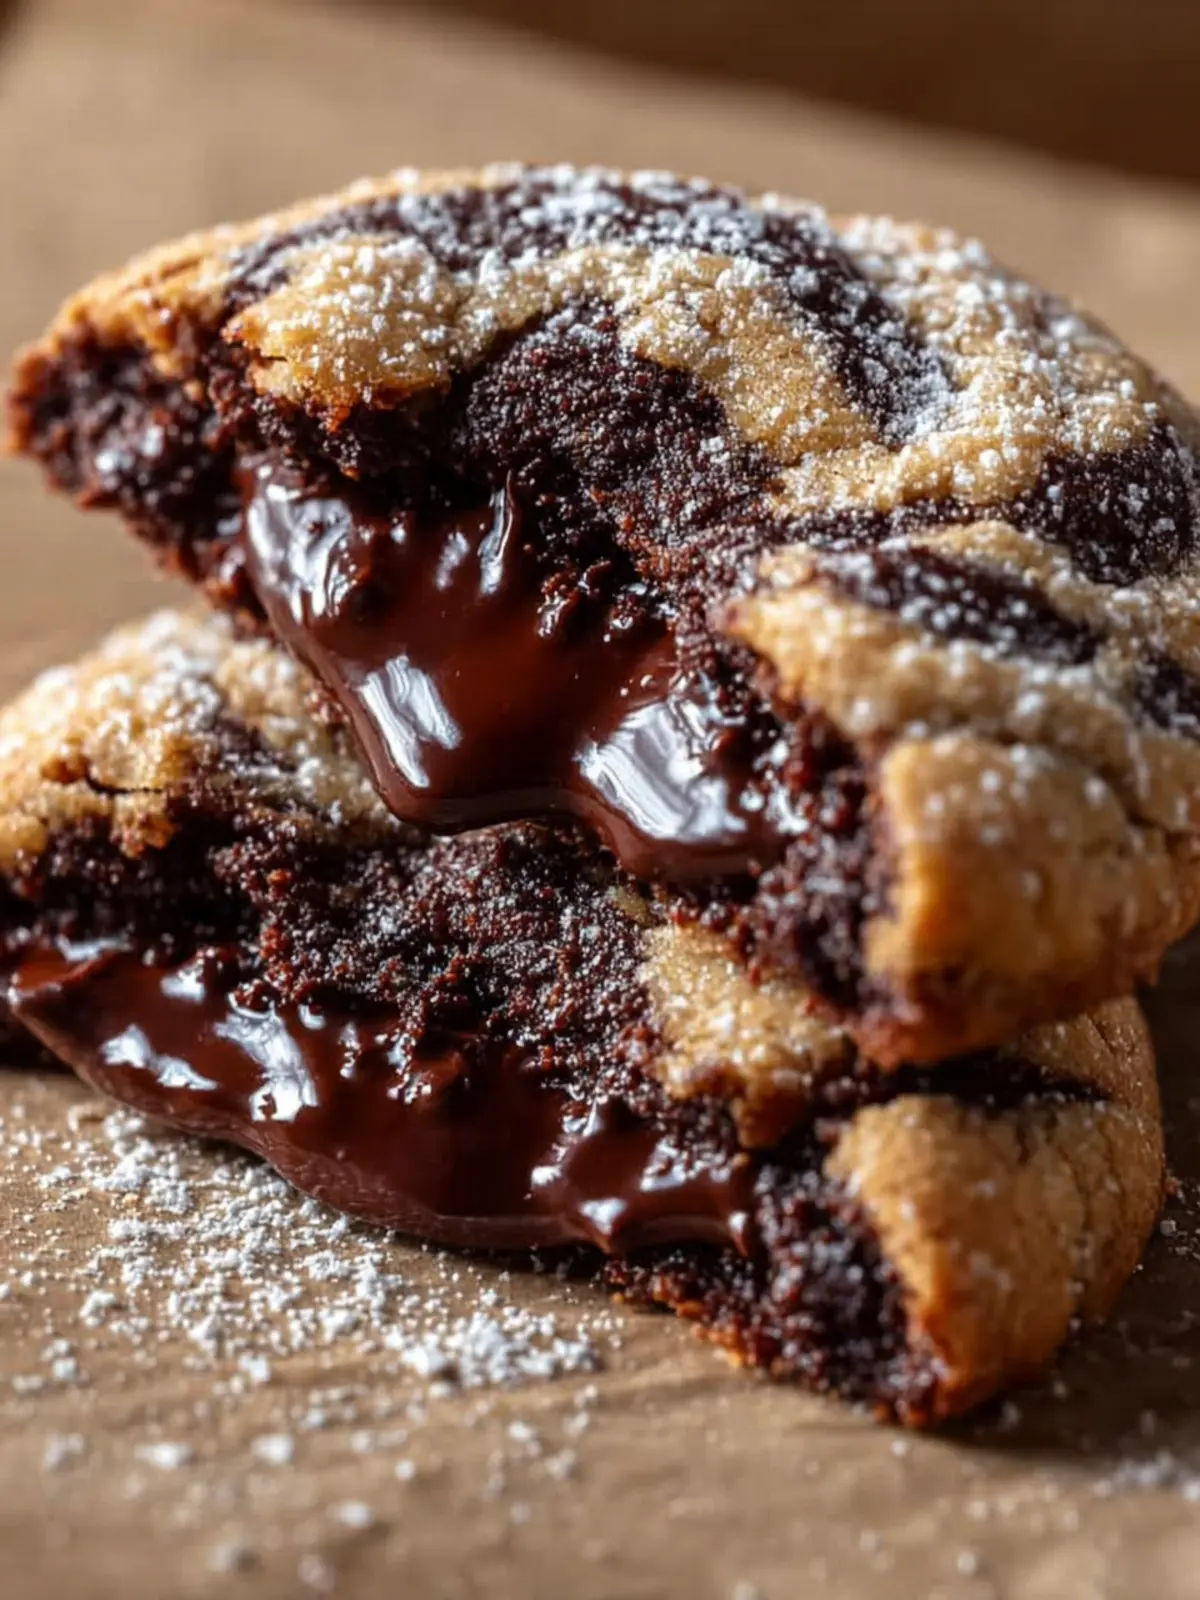
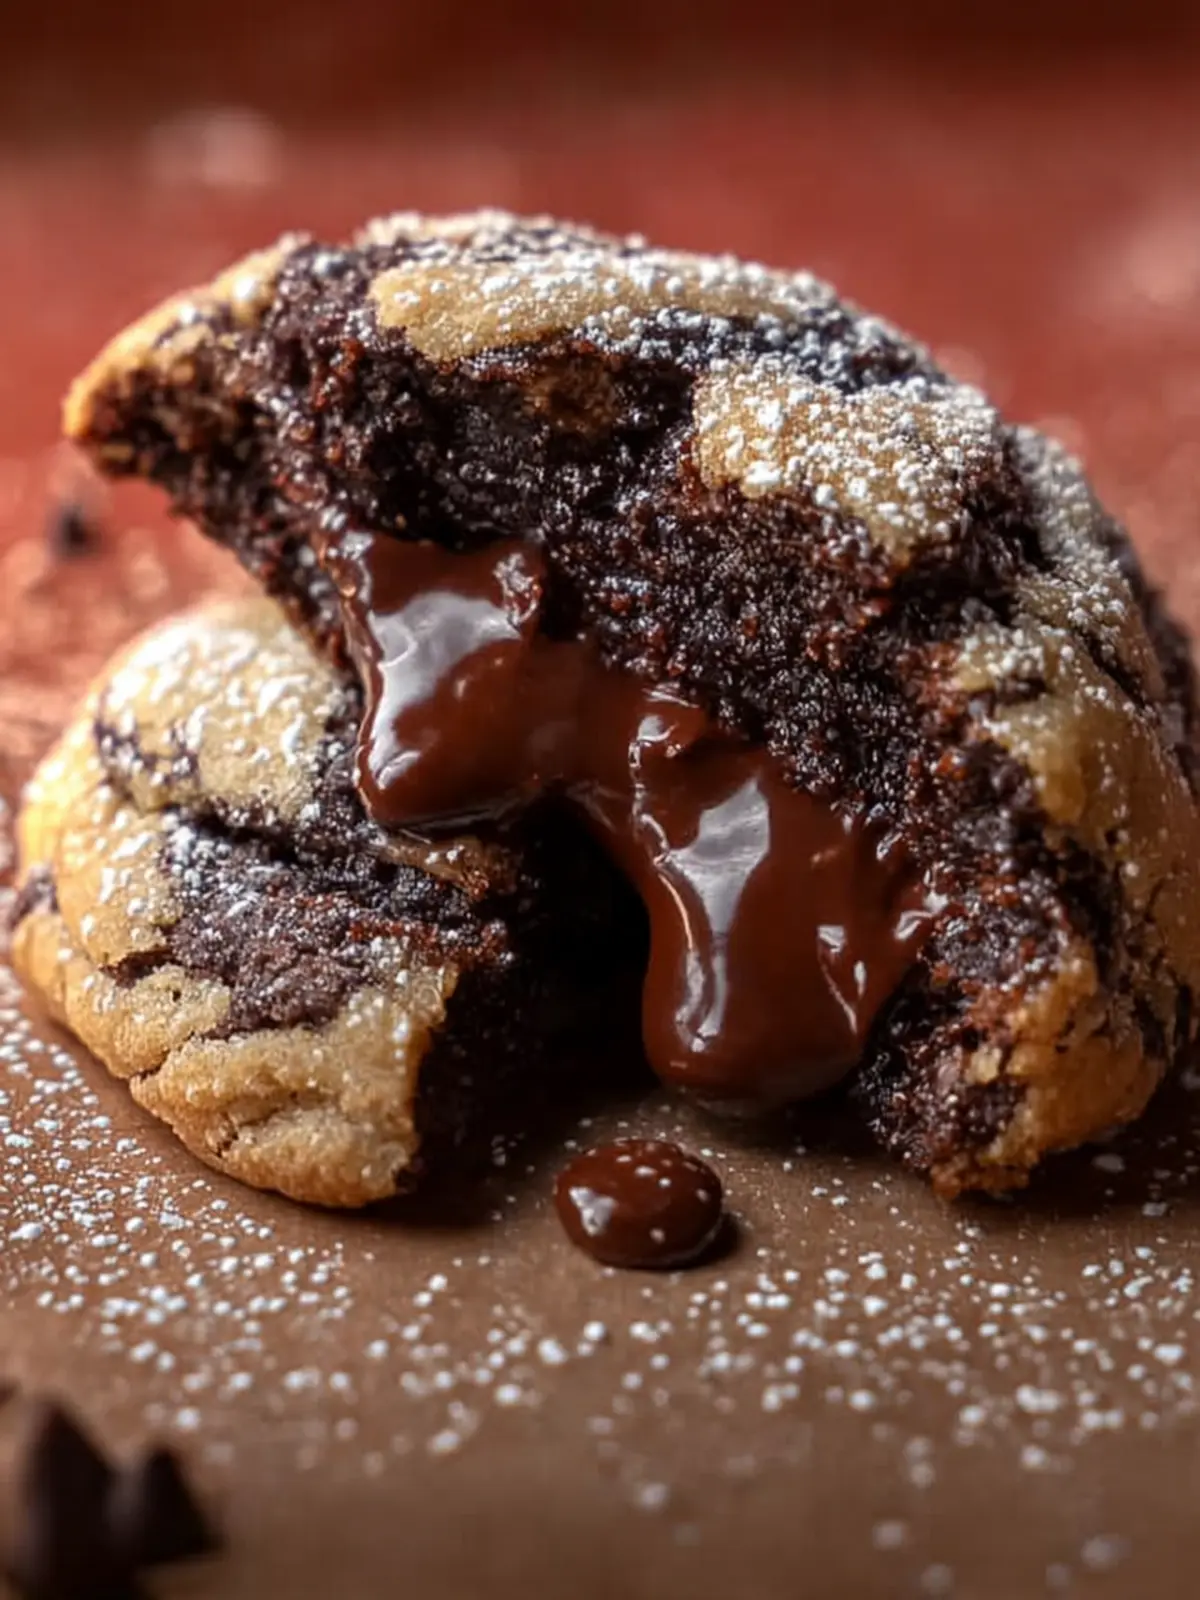
Crumbl Molten Lava Cookies have become a sweet obsession, captivating chocolate lovers everywhere with their irresistible gooey centers and soft, warm exterior. Picture this: you take a bite, and as you sink your teeth into the cookie, warm, melted chocolate oozes out, creating a delightful mess that you can’t help but savor. It’s this experience that has made these cookies standout treasures, perfect for dessert lovers who believe every treat should be a celebration.
Aged like fine wine, my love for chocolate has deepened over the years, evolving from casual indulgence to an unforgettable experience, especially when it comes to Crumbl Molten Lava Cookies. Each cookie is a mini adventure, with its rich texture and the thrill of discovering that warm, luscious chocolate filling. Perfect for sharing with friends or indulging solo after a long day, these cookies remind us all of the comforting magic of home baking.
Why chocolate lovers are obsessed with molten lava cookies?
The enchantment of Crumbl Molten Lava Cookies lies in their unique ability to evoke joy and nostalgia. Here are a few reasons why chocolate enthusiasts can’t get enough:
- Warm and gooey center: The highlight is undeniably the molten chocolate that flows from the center, making every bite a blissful surprise.
- Soft, inviting texture: The outer layer is perfectly baked to achieve a soft, chewy texture that complements the molten filling.
- Decadent chocolate flavor: Each cookie is loaded with rich chocolate flavor, appealing to anyone whose heart beats a little faster at the mention of cocoa.
- Ideal for sharing: Nothing beats the joy of sharing these cookies with friends and family, creating cherished memories together with each chocolaty bite.
Whether you’re an avid chocolate lover or just someone searching for a delicious treat, Crumbl Molten Lava Cookies are sure to become a favorite. Their playful nature and delightful surprise encapsulate everything we love about dessert, making them a must-try for any occasion. So, let’s embark on this sweet journey and discover how to create these delectable cookies at home!
Key Ingredients for Crumbl Molten Lava Cookies
Creating Crumbl Molten Lava Cookies is a delightful journey into chocolatey bliss, and your ingredients play a big part in that adventure. Each component comes together to form cookies that not only look amazing but also ooze decadence with every bite.
-
Chocolate: The star of this recipe! I recommend using high-quality semi-sweet or dark chocolate for that rich, gooey center. This choice elevates the overall flavor and ensures a melting experience that’s simply to die for.
-
Butter: You’ll need unsalted butter to achieve that perfect texture. Melting it creates a luxurious base for the dough, resulting in soft cookies with slightly crisp edges.
-
Flour: All-purpose flour is your go-to here. It provides the structure needed to hold the molten chocolate without being too dense. Avoid extra protein!
-
Sugar: A mix of granulated and brown sugar adds depth and moisture. The brown sugar contributes to a chewy texture while the granulated sugar helps the cookies spread nicely.
-
Eggs: Using room temperature eggs will help the dough blend smoothly, making the cookies light yet rich.
These simple yet essential ingredients come together to create cookies that are a true chocolate lover’s dream!
Why You’ll Love This Recipe
Imagine biting into a Crumbl Molten Lava Cookie, where warm, gooey chocolate oozes from the center, creating an instant bliss moment. This recipe is not just about cookies; it’s about evoking childhood memories of indulging in sweets that make your heart smile. With each delightful bite, you’ll be transported to a cozy kitchen filled with the aroma of freshly baked goodies, making it perfect for casual family gatherings or a sweet treat for yourself after a long day.
Simplicity Meets Indulgence
The beauty of these cookies lies in their straightforward preparation. You don’t need to be a baking expert to master the art of achieving that molten center. With easy-to-follow instructions, you’ll be enjoying warm cookies in no time.
Perfect for Any Occasion
Whether you’re planning a quiet night in, hosting friends, or impressing a date, these Crumbl Molten Lava Cookies are a hit. Their irresistible charm elevates any gathering, making them a conversation starter.
A Chocolate Lover’s Dream
For those who can’t resist chocolate, these cookies are a paradise. Each cookie is packed with rich flavors that will make your taste buds dance. Once you’ve tried them, you’ll wonder how you ever lived without this recipe in your repertoire.
Variations on Crumbl Molten Lava Cookies
Creating Crumbl Molten Lava Cookies opens the door to a myriad of delightful variations. Each twist brings its own flavor profile while maintaining that famous gooey center we all adore.
Classic Peanut Butter Twist
Incorporate a scoop of creamy peanut butter into the cookie dough for a rich, nutty flavor. You can even replace half of the chocolate filling with a layer of peanut butter. The result? A harmonious blend of chocolate and peanut butter that is simply irresistible!
Mint Chocolate Lava Cookies
For those who love the fresh taste of mint, add a few drops of peppermint extract to the dough and use mint chocolate chips for the filling. These cookies will transport you to a winter wonderland, making them perfect for holiday gatherings or any time you’re craving a festive treat.
Salted Caramel Surprise
Swap out the traditional chocolate center for a gooey salted caramel filling. Not only does it add a delightful sweetness, but a sprinkle of sea salt on top enhances the flavor, creating a perfectly balanced dessert that’s sure to impress.
Double Chocolate Delight
For chocolate enthusiasts, try using dark chocolate cocoa powder in the dough and chocolate chunks in the filling. This intensifies the chocolate experience, ensuring a rich and decadent cookie.
With each of these variations, your Crumbl Molten Lava Cookies will offer something new and exciting every time you bake them!
Cooking Tips and Notes
Creating Crumbl Molten Lava Cookies can feel like diving into a world of chocolatey indulgence and gooey bliss. As you embark on this sweet adventure, here are some essential tips and notes to ensure your cookie experience is top-notch.
Choose Quality Ingredients
- Chocolate: Opt for high-quality chocolate chips or bars. They melt beautifully, providing that rich center that makes these cookies irresistible.
- Fresh Ingredients: Always use fresh eggs and unsalted butter for the best flavor. This helps create the perfect balance between sweetness and richness.
Be Mindful of Timing
Managing baking times is crucial for achieving that molten center. Begin checking the cookies a minute or two before the suggested baking time. The edges should be set, while the centers remain soft, ensuring that gooey texture.
Dough Handling Tips
- Chill the Dough: For even baking and a thicker cookie, consider chilling your cookie dough for at least 30 minutes before baking. This prevents spreading and helps maintain that perfect shape.
- Don’t Overmix: When combining your wet and dry ingredients, mix just until incorporated. Overmixing can lead to dense cookies instead of soft and airy delights.
Storing Your Cookies
If you have any leftovers (though that’s a big if!), store the cookies in an airtight container at room temperature. They’ll stay soft for a couple of days but are best enjoyed fresh from the oven for that ultimate molten experience.
Embrace the joy of baking with these Crumbl Molten Lava Cookies, and savor the delightful journey of creating a treat that truly warms the heart!
Serving Suggestions for Crumbl Molten Lava Cookies
If you’re dreaming of a dessert that combines a soft, gooey exterior with a rich, chocolate-filled center, Crumbl Molten Lava Cookies are your answer. These cookies are not just delightful on their own but can easily be elevated for special occasions or cozy nights in. Here are some serving ideas to make your experience even sweeter.
A La Mode
Imagine warm, molten cookies paired with a scoop of creamy vanilla ice cream. As the ice cream melts into the cookie, it creates an irresistible blend of flavors. Consider using homemade ice cream when possible for that extra touch!
Drizzle Delight
Drizzling your Crumbl Molten Lava Cookies with melted chocolate or caramel sauce adds a decadent finish. For added texture, sprinkle some crushed nuts or sea salt on top to enhance the flavor profile.
Pairing Suggestions
Serve your cookies alongside a steaming cup of coffee or a rich hot chocolate. This delightful combination will satisfy your sweet cravings and provide a comforting experience—perfect for winding down after a long day.
Presentation Matters
Don’t overlook the power of appearance. Present your cookies on a beautiful platter or even stack them high for a visually impressive treat that’s perfect for gatherings. Adding some fresh berries or mint leaves as garnish can brighten up the presentation.
These simple yet effective serving suggestions can transform your Crumbl Molten Lava Cookies from a casual treat into a star dessert that impresses friends and family alike!
Time Breakdown for Making Crumbl Molten Lava Cookies
Creating the delectable Crumbl Molten Lava Cookies is a rewarding experience that fills your kitchen with an intoxicating aroma of freshly baked chocolate. Here’s a quick breakdown of how you’ll spend your time on this sweet adventure.
Preparation Time
While preparing these cookies, you can expect to spend about 15 to 20 minutes gathering and mixing your ingredients. Make sure to measure everything carefully—the precise ratio of flour to sugar makes all the difference in achieving that gooey center!
Baking Time
Once your cookie dough is ready and you’ve shaped those irresistible rounds, slide them into the oven for about 10 to 12 minutes. Keep an eye on them; the perfect molten center is a fine line between underbaked and overbaked!
Cooling Time
After baking, let your Crumbl Molten Lava Cookies cool on the baking sheet for about 5 minutes. This allows the cookies to firm up slightly while still keeping that luscious filling warm and gooey—perfect for indulging!
By understanding this timeline, you’ll be well-prepared to embrace every delicious moment of these delightful treats.
Nutritional Facts for Crumbl Molten Lava Cookies
When diving into the Crumbl Molten Lava Cookies, you may be wondering about their nutritional impact as you savor those gooey chocolate centers. These delightful treats not only satisfy your sweet tooth but also pack a punch in flavor. Understanding their nutritional profile can help you enjoy them mindfully.
Calories
One Crumbl Molten Lava Cookie contains approximately 250-300 calories. It’s the perfect indulgence for a little pick-me-up during your day.
Total Fat
Each cookie has about 14-16 grams of total fat, depending on the specific recipe variation. The rich combination of butter and chocolate contributes to this creaminess, making every bite a heavenly experience.
Sugars
With around 20-24 grams of sugar per cookie, these molten treats satisfy your sweet cravings masterfully. The blend of chocolate and sugar creates that irresistible gooeyness you can’t resist!
Enjoy your cookies while keeping these nutritional facts in mind, and savor each molten bite.
FAQs about Crumbl Molten Lava Cookies
Making Crumbl Molten Lava Cookies is a delightful experience, but it often comes with a few questions. Here, I’ve compiled some of the most frequently asked questions to help you navigate your molten cookie journey!
How do I know when the cookies are done baking?
Determining the perfect baking time for Crumbl Molten Lava Cookies can be tricky. Look for a few telltale signs: the edges should be set and slightly golden, while the center remains soft and puffy. A great trick is to gently press the edges with your finger; if they hold their shape but the center gives just a bit, it’s time to take them out. Remember, they will continue to cook slightly from residual heat once you remove them from the oven.
Can I make these cookies ahead of time?
Absolutely! You can prepare the dough for Crumbl Molten Lava Cookies up to 24 hours in advance. Just wrap it tightly in plastic wrap and store it in the refrigerator. When you’re ready to bake, let the dough sit at room temperature for about 15 minutes before scooping and baking. If you prefer, you can even freeze the cookie dough for up to three months. Just thaw it in the fridge overnight before baking.
What should I serve with molten lava cookies?
Pairing your Crumbl Molten Lava Cookies with a few simple accompaniments can elevate your dessert experience. A scoop of vanilla ice cream is a classic choice, as the cold creaminess perfectly contrasts with the warm, gooey center of the cookie. Fresh berries, like strawberries or raspberries, add a juicy tang that complements the rich chocolate. Drizzling with warm caramel or chocolate sauce can also take it to the next level. Enjoy experimenting!
Conclusion on Crumbl Molten Lava Cookies
In wrapping up our journey through the decadent world of Crumbl Molten Lava Cookies, it’s evident that these little indulgences bring joy in every bite. The rich, gooey center harmonizes beautifully with the soft cookie exterior, making them a perfect treat for gatherings or cozy nights in. Plus, the simple ingredients and straightforward instructions make them accessible for bakers of all levels. Don’t hesitate to experiment with flavors or toppings, as these cookies are a canvas for your creativity. Ultimately, sharing these cookies with friends and family is what truly makes them special, turning every bite into a delightful experience. Enjoy your baking adventure!
Print
Chocolate Fudge Cookies
- Total Time: 46 minutes
- Yield: 12 cookies 1x
- Diet: Vegetarian
Description
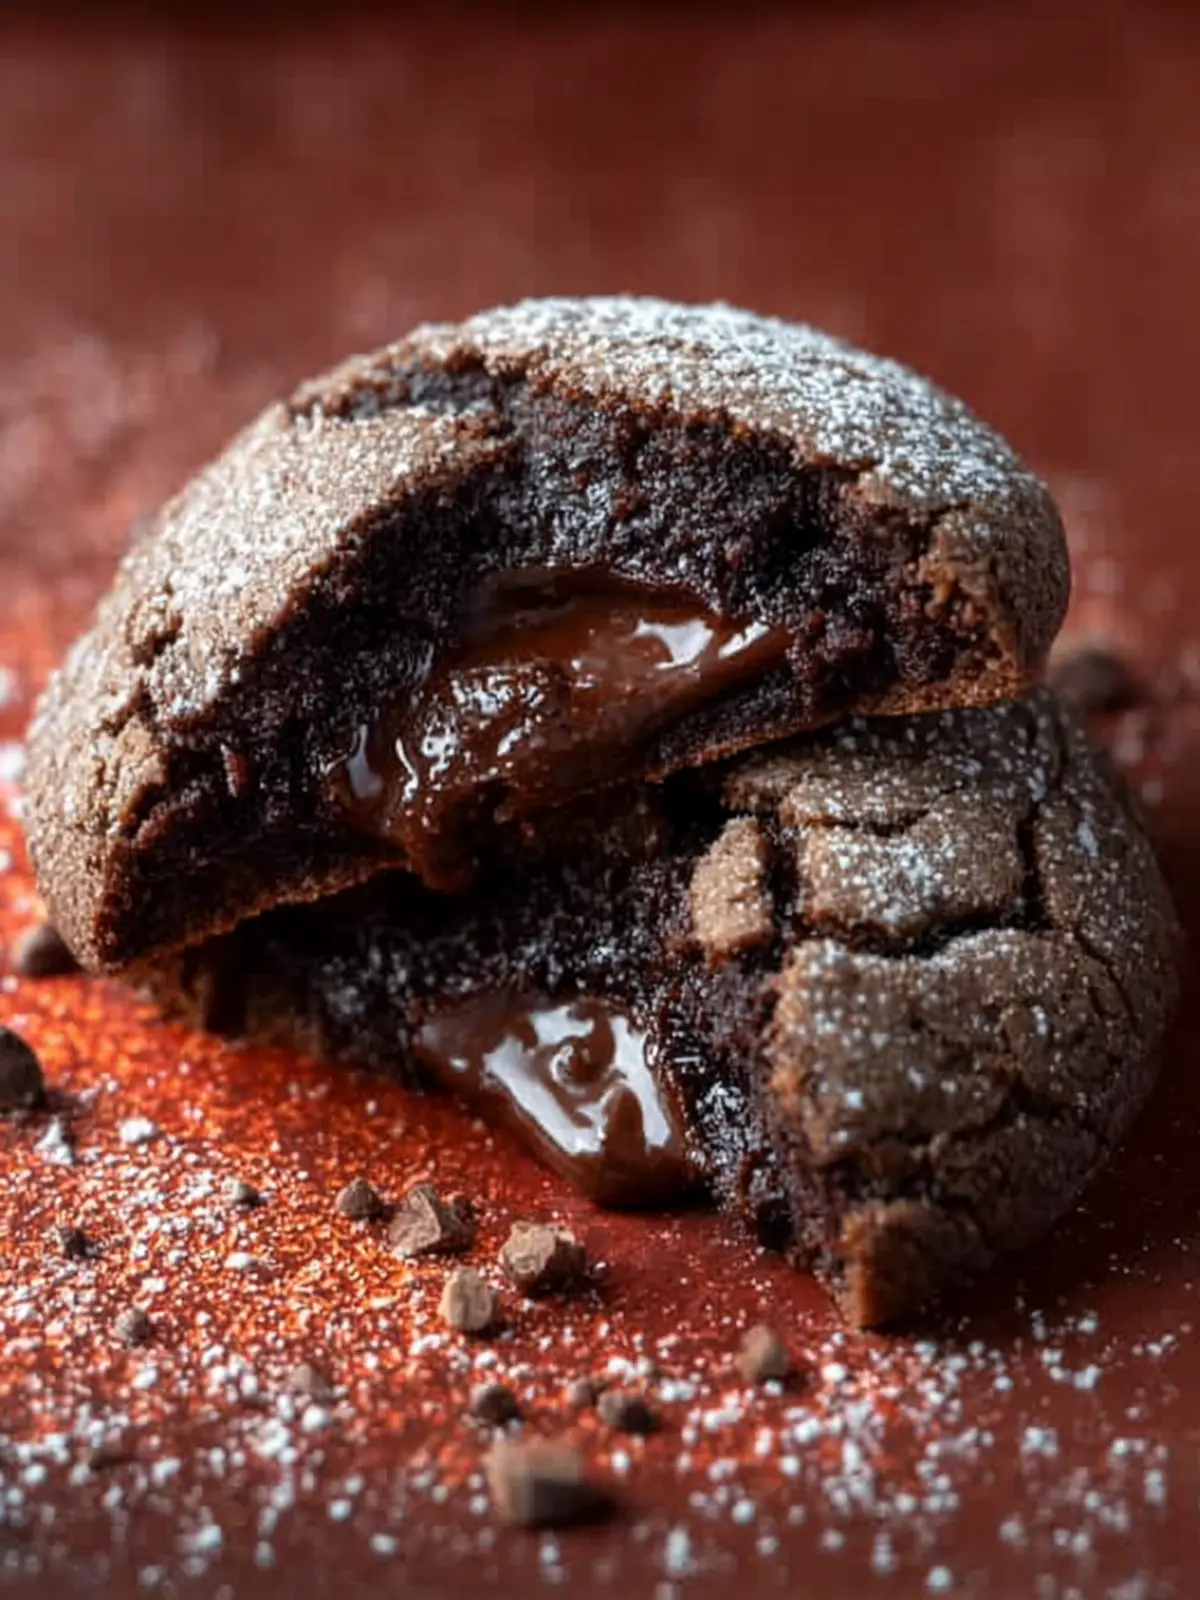
Delicious chocolate fudge cookies with a gooey fudge center.
Ingredients
Scale
- 3 tbsp chocolate fudge sauce (the thick kind)
- 1/2 cup butter (softened, salted or unsalted)
- 3/4 cup brown sugar
- 2 tbsp granulated sugar
- 1 large egg
- 2 tsp vanilla extract
- 1 and 1/4 cup flour
- 1/2 cup dutch processed cocoa powder
- 1/2 tsp baking soda
- 1/4 tsp salt
- powdered sugar (for dusting)
Instructions
- Freeze 6 dollops of chocolate fudge sauce on a parchment-lined baking sheet or plate. Each dollop will be about 1/2 tbsp.
- Start by preheating the oven to 350F then line a baking sheet with parchment paper then set aside.
- Cream the butter, brown sugar, and granulated sugar together until creamy.
- Mix in the egg, and vanilla extract until combined, then add in the flour, baking soda, cocoa powder, and salt and mix just until combined.
- Scoop out 6 equally sized cookie dough balls, flatten each one in between the palm of your hands, place a frozen dollop of chocolate fudge, fold the cookie dough over it, place on a baking sheet, and gently pat the top, leaving the cookie at about 1-1 inch in thickness.
- Bake the cookies in the preheated oven for 10-11 minutes then let cool on the baking sheet for another 20 minutes then transfer to a cooling rack.
- Dust with powdered sugar and enjoy!
Notes
- Use a thick chocolate fudge sauce for the best results.
- Prep Time: 15 minutes
- Cook Time: 11 minutes
- Category: Dessert
- Method: Baking
- Cuisine: American
Nutrition
- Serving Size: 1 cookie
- Calories: 150
- Sugar: 12g
- Sodium: 100mg
- Fat: 7g
- Saturated Fat: 4g
- Unsaturated Fat: 2g
- Trans Fat: 0g
- Carbohydrates: 20g
- Fiber: 1g
- Protein: 2g
- Cholesterol: 20mg