Follow Me On Social Media!
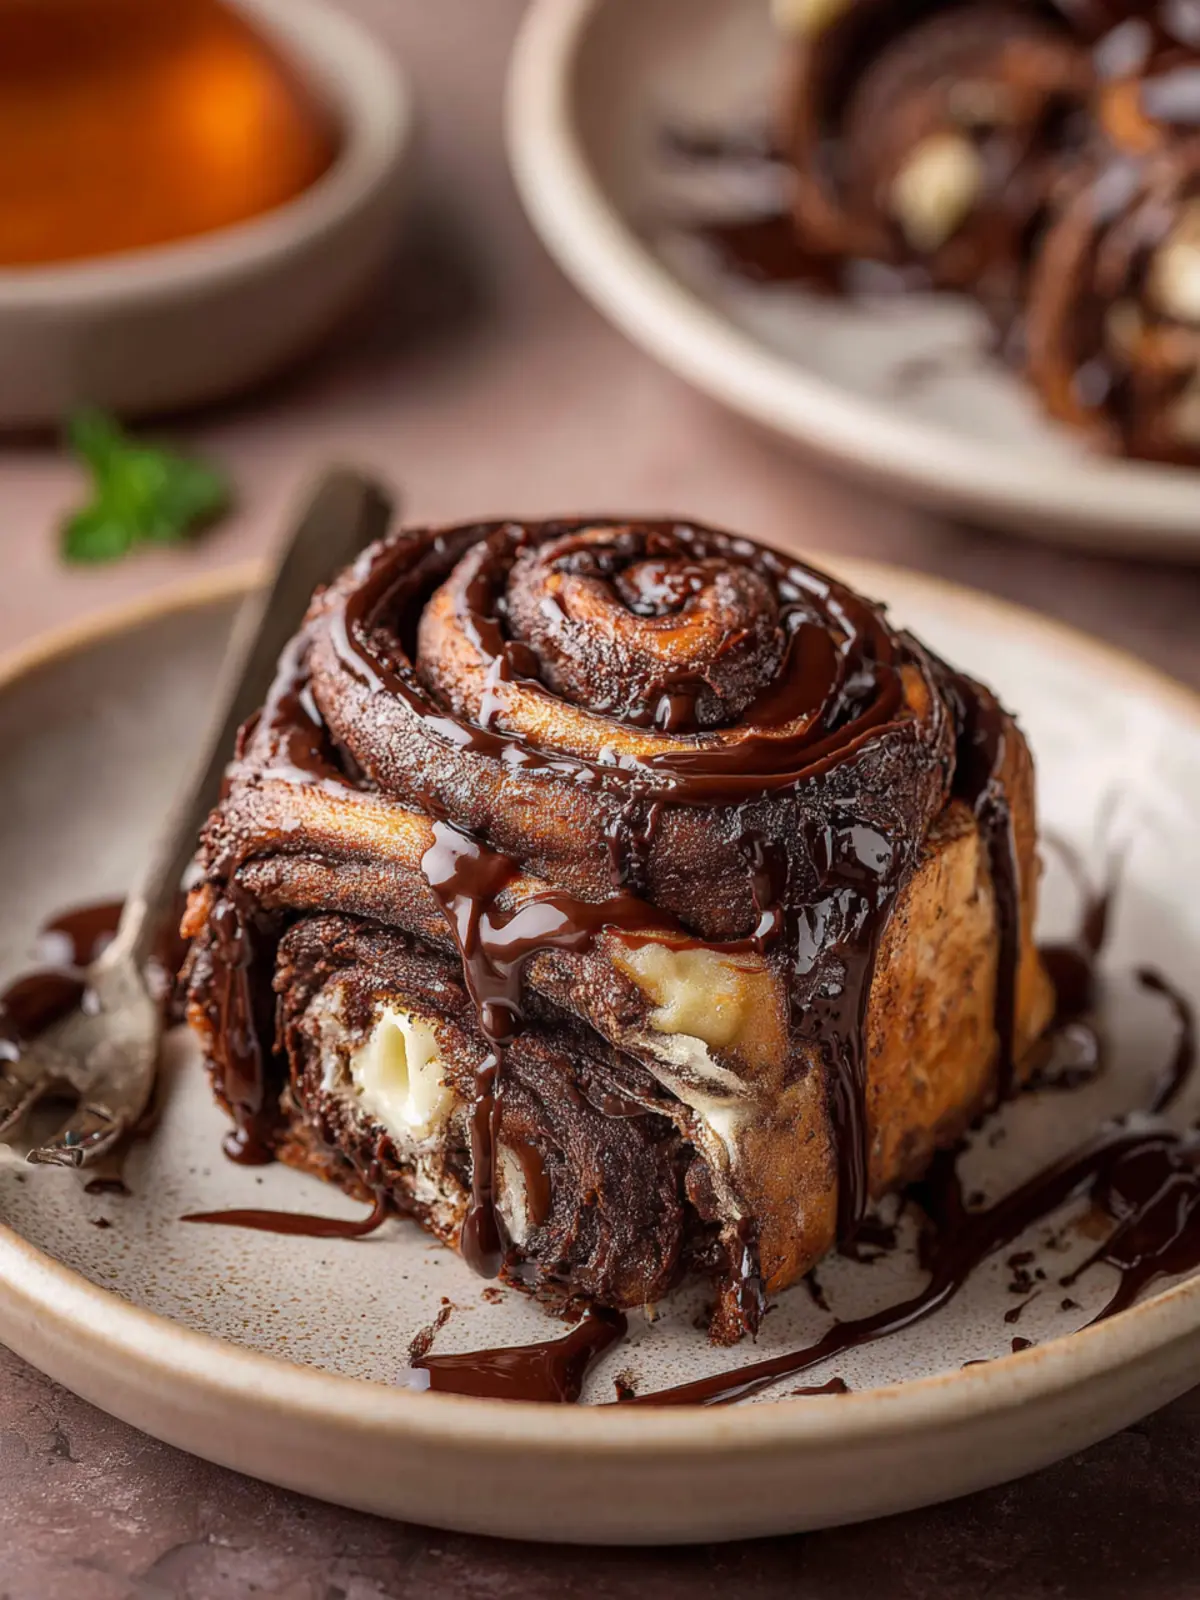
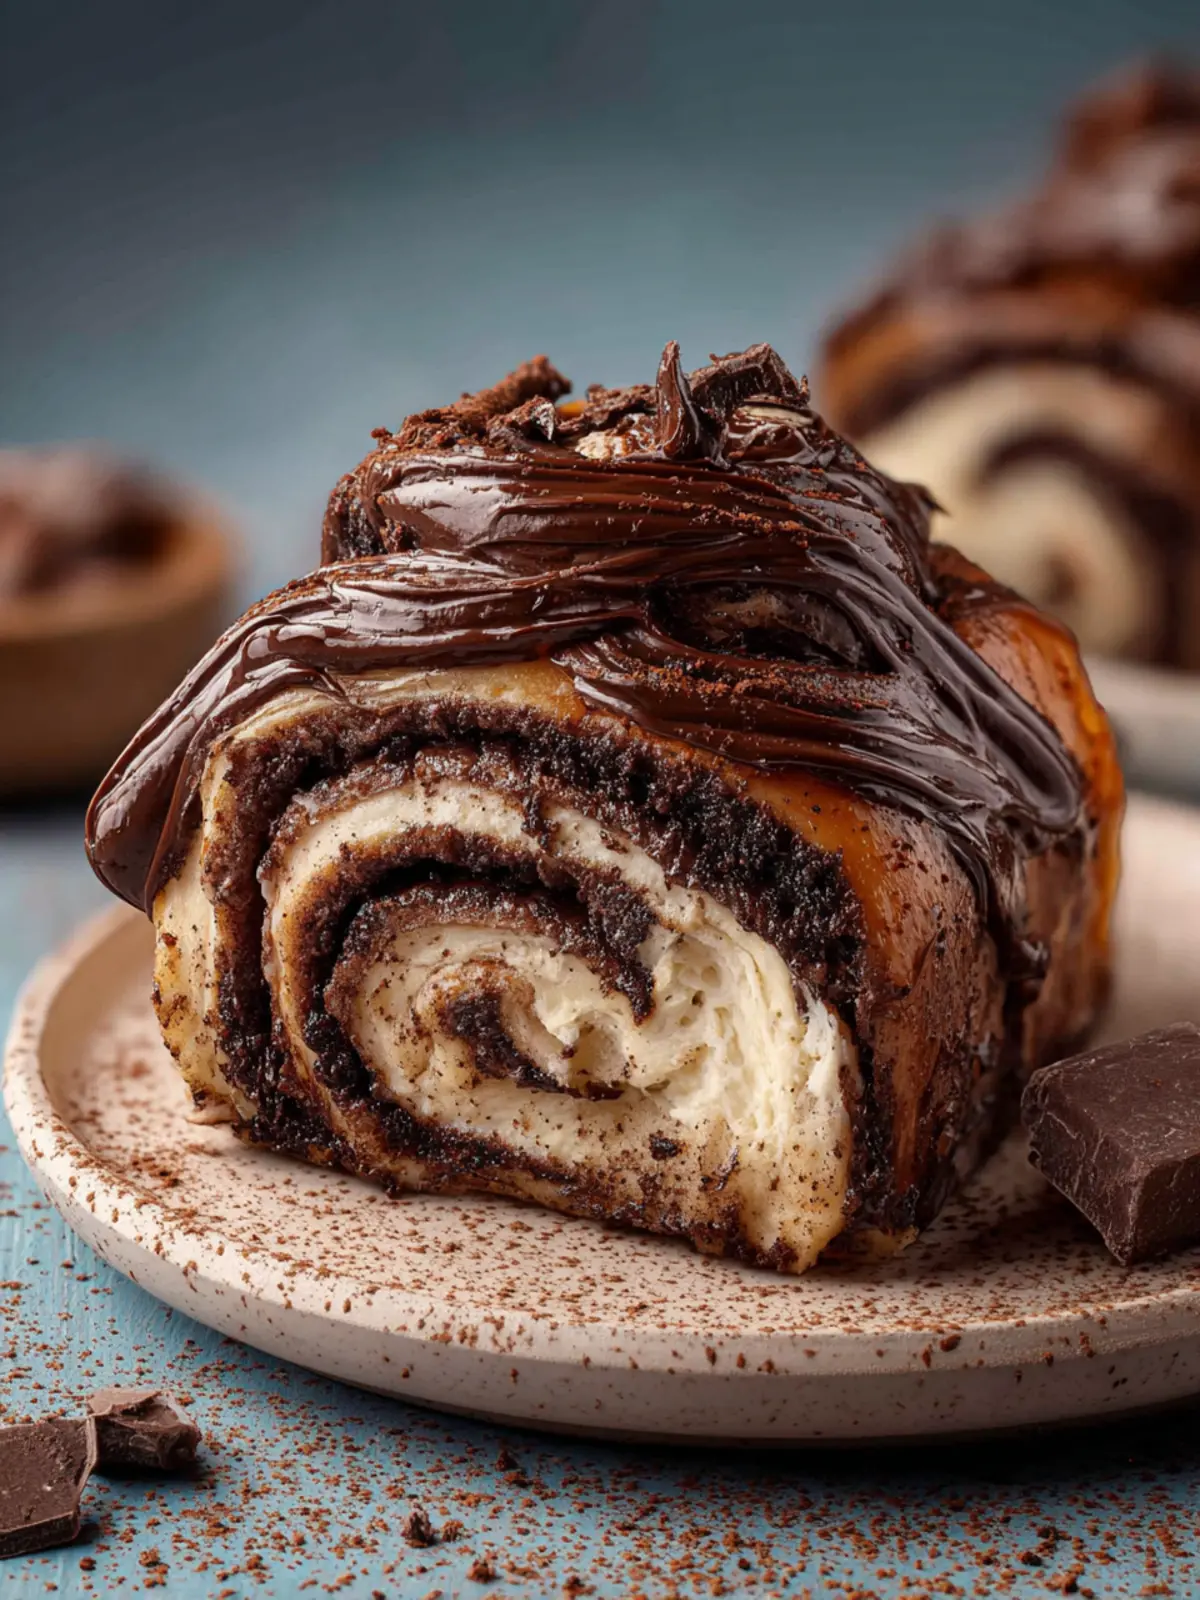
Chocolate Rolls Bliss: Irresistibly Gooey & Easy to Make
Introduction to Chocolate Rolls
Imagine a cozy afternoon where the aroma of baked chocolate wafts through your home, stirring memories of joyful gatherings and indulgent treats—this is the magic of chocolate rolls. These delightful confections are not just a dessert; they’re an experience, a meltingly sweet promise that wraps you in warmth with every bite. Whether enjoyed with a cup of coffee during a quick break or served at a celebration, chocolate rolls effortlessly bring a sense of happiness that’s hard to resist.
What makes chocolate rolls a favorite dessert?
There’s a unique allure to chocolate rolls. For one, they combine rich, decadent flavors with a conveniently portable shape, making them perfect for sharing—ideal for parties or gift-giving. From the first enticing glance at their swirled layers to the moment you sink your teeth into their soft, chocolatey goodness, they evoke joy and satisfaction like few desserts can.
- Versatile Flavor: Chocolate rolls can be made with variations in flavor, filling, and sweetness, making them adaptable to any taste preference. You might find classic recipes, or experiment with additional flavors like hazelnut, raspberry, or peppermint to make each batch uniquely yours.
- Easy Preparation: Contrary to what you might think, crafting these rolls doesn’t have to be an intimidating task. A straightforward dough combined with a simple spreading of rich chocolate filling means you’ll enjoy a success that feels rewarding, even for novice bakers.
- Perfect for Any Occasion: From birthdays to potlucks, chocolate rolls make an eye-catching centerpiece that invites smiles. Their unmistakable appeal bridges age gaps, delighting both kids and adults, and adds that special flair to any gathering.
So, pull out your mixing bowl and whisk—let’s dive into this delightful world of chocolate rolls. You’ll be amazed at how easily they can transform simple ingredients into something fabulous and unforgettable.
Key Ingredients for Chocolate Rolls
Creating the perfect chocolate rolls is as much about the ingredients as it is about the technique. Each component plays a pivotal role in ensuring that your rolls are deliciously rich and wonderfully fluffy. Here’s a closer look at what you’ll need.
-
Flour: All-purpose flour is my go-to for chocolate rolls. It gives structure to the dough while allowing the rolls to rise beautifully. If you’re looking for a gluten-free option, consider a blend specifically designed for baking.
-
Cocoa Powder: For that deep chocolate flavor, high-quality unsweetened cocoa powder is essential. I prefer using natural cocoa for its bold taste, but Dutch-processed cocoa can lend a smoother profile if that’s more to your liking.
-
Sugar: Granulated sugar sweetens the dough and helps achieve that lovely golden crust. You can balance this with a bit of brown sugar for added moisture.
-
Yeast: Active dry yeast is crucial for a fluffy texture, allowing the dough to rise properly. Make sure your yeast is fresh for the best results!
-
Butter: Softened butter adds richness and flavor. A generous amount makes the rolls tender and flaky.
-
Milk: For a soft and pliable dough, whole milk works wonders. It also enriches the flavor of the chocolate rolls.
-
Eggs: Eggs contribute to the overall structure and richness. Whisk them well before adding to the mixture to ensure even incorporation.
-
Salt: A pinch of salt enhances the flavors and balances the sweetness without overpowering the chocolate rolls.
By selecting high-quality ingredients and paying attention to each one, you’ll set yourself up for success in crafting these indulgent treats. Happy baking!
Why You’ll Love These Chocolate Rolls
Imagine waking up on a cozy weekend morning, the enticing aroma of freshly baked chocolate rolls wafting through your home. That’s the magic of these delightful treats, ready to transform your breakfast routine into a comforting ritual. The blend of rich chocolate and soft, pillowy dough offers a hug for your taste buds, making every bite a heavenly experience.
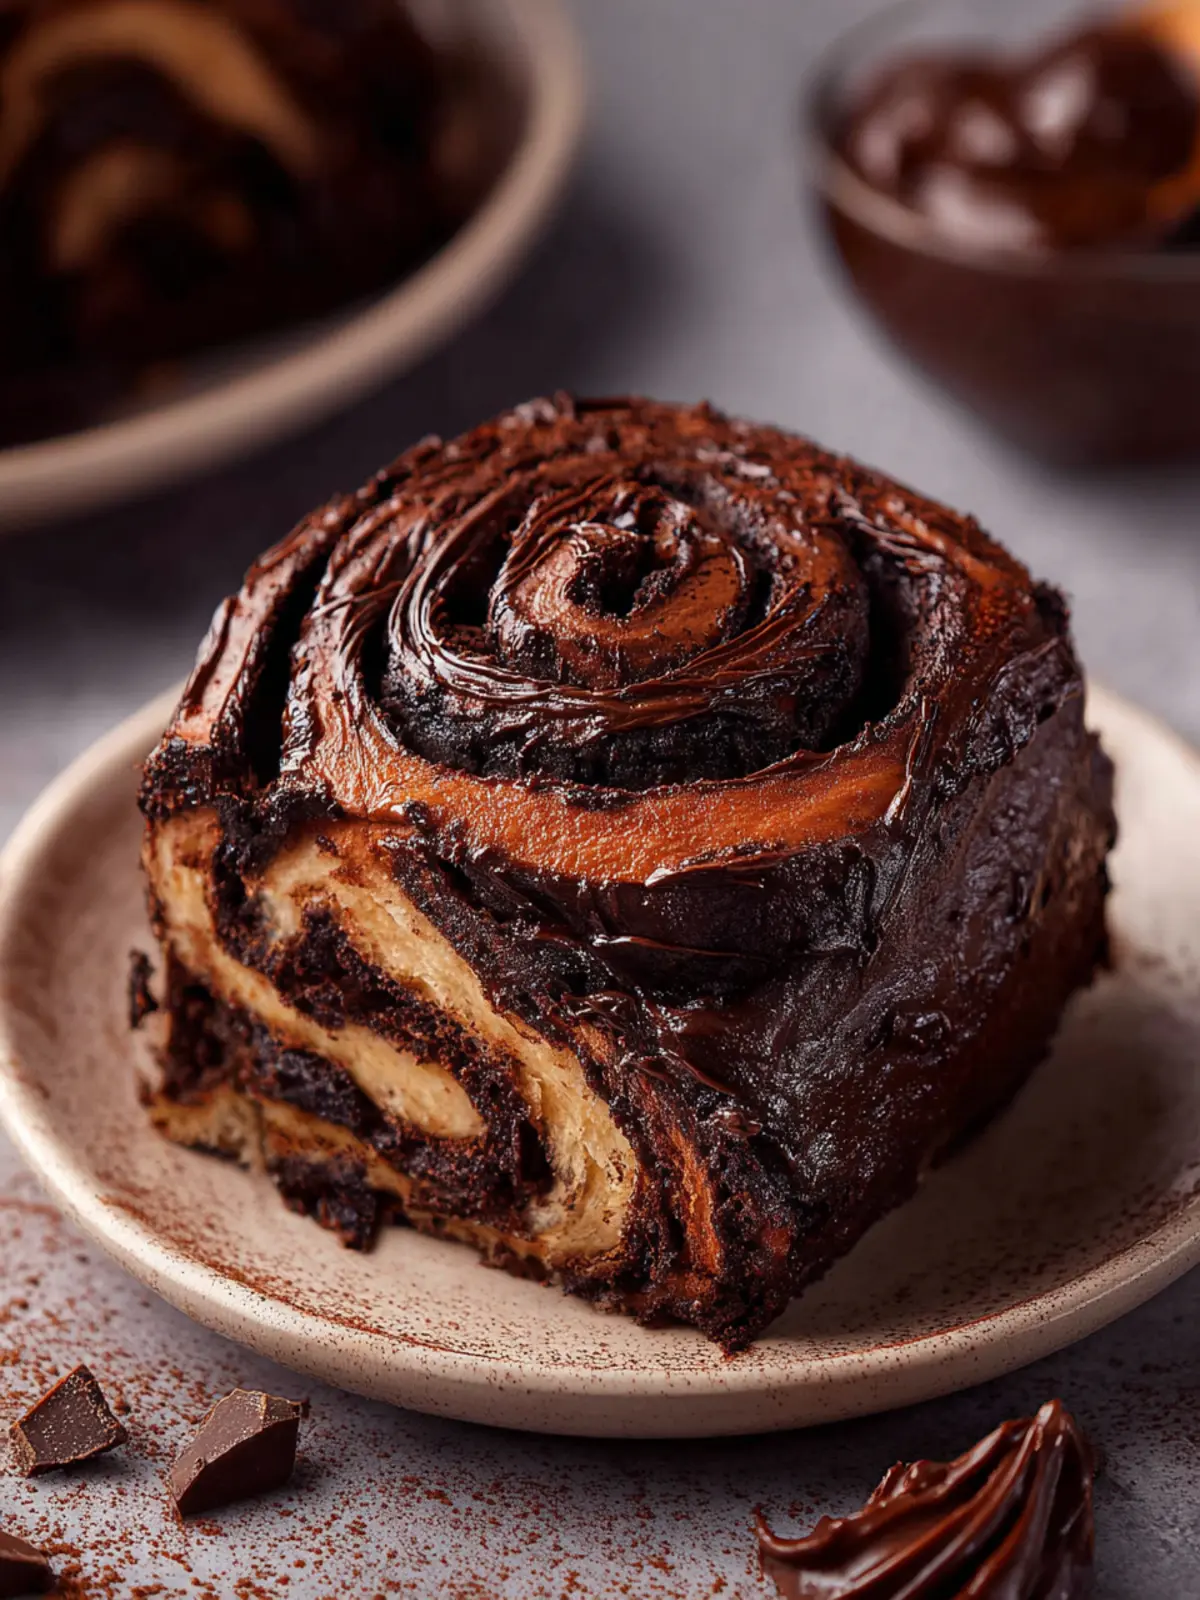
Decadent Chocolate Flavor
What sets these chocolate rolls apart is the balance of sweetness and richness. Each roll is filled with high-quality chocolate, ensuring that melt-in-your-mouth sensation we all crave. As the chocolate warms and seeps into the dough during baking, it creates a gooey interior that contrasts beautifully with the lightly crisp exterior.
Perfect for Any Occasion
Whether it’s a family brunch, a gathering with friends, or simply a cozy night in, these chocolate rolls serve as the perfect centerpiece. They are not just a treat; they are a conversation starter! Picture everyone gathered around the kitchen, tearing into these rolls, sharing laughter and stories.
Simple Yet Impressive
Don’t let the elegance fool you; these rolls are surprisingly simple to make! The straightforward recipe allows even novice bakers to achieve bakery-quality goodness. With just a few ingredients and steps, you’ll feel like a pro in the kitchen.
Indulge your senses and bring joy to your table with these delightful chocolate rolls—they’re not just food; they’re an experience!
Tips for Making Perfect Chocolate Rolls
Achieving the Fluffiest Dough
Crafting delightful chocolate rolls starts with mastering the dough. Always use room temperature ingredients—this tip can make a world of difference! When your butter and eggs are at room temperature, they blend effortlessly, leading to a soft, pliable dough. If you’re short on time, warm your eggs slightly in a bowl of warm water for a quick fix.
Choosing the Right Chocolate
Quality matters when it comes to chocolate. Opt for high-quality dark or semi-sweet chocolate. Not only does it enhance the flavor, but it also melts beautifully, giving your rolls that irresistible gooey center. If you’re a fan of unique flavors, consider adding a touch of orange zest or a hint of sea salt to elevate your chocolate rolls.
Mastering the Rolling Technique
When it’s time to roll out your dough, use a light hand. Too much pressure can compress the dough and lead to dense rolls. Aim for an even rectangle, and don’t skimp on the filling—generosity here pays off! Once rolled, allow your creations to rise until they’re puffy. This step ensures a soft, airy bite that melts in your mouth.
Baking for Perfection
Finally, keep an eye on your oven. Every oven is a bit different, so start checking your chocolate rolls a few minutes before the suggested baking time. You want them golden brown on top with a subtle shine. Once they’re out, resist the urge to dive in immediately; a little patience goes a long way in letting the rolls set perfectly!
Time Details for Chocolate Rolls
Creating delectable chocolate rolls requires precision and a little patience, but the results are absolutely worth the wait. Dive into the timing so you can savor every delicious bite once the rolls are out of the oven.
Preparation time
Getting everything ready for your chocolate rolls takes about 20 minutes. This includes measuring out ingredients, mixing the dough, and preparing any chocolate filling you desire.
Rising time
After folding your dough, give it a generous hour to rise. This crucial step allows the yeast to work its magic, resulting in fluffy and airy rolls that are simply irresistible.
Baking time
Baking your chocolate rolls only takes about 25 minutes in a preheated oven. Keep an eye on them, and you’ll know they’re done when they turn a lovely golden brown.
Total time
From start to finish, you’re looking at approximately 1 hour and 45 minutes to enjoy freshly baked chocolate rolls. Trust me; the aromatic scent wafting through your kitchen will be the perfect motivation to make them again!

Nutritional Information for Chocolate Rolls
Indulging in chocolate rolls can be a delightful experience, but it’s also essential to know what you’re savoring. Here’s a breakdown of the nutritional values to keep your energy in check while enjoying this sweet treat.
Calories
Each serving of these chocolate rolls contains approximately 250 calories. This makes them a satisfying yet manageable dessert option, perfect for an afternoon pick-me-up or a sweet ending to your day.
Protein
On the protein front, each roll packs about 4 grams. While it won’t replace a full-on protein source, this amount can complement your daily intake, especially if you’re enjoying a roll alongside a balanced meal.
Sodium
In terms of sodium, you’re looking at around 150 milligrams per roll. This level is relatively moderate, making chocolate rolls a reasonable choice for those watching their sodium intake. Enjoy them without too much worry, but remember to balance your other meals accordingly.
FAQs About Chocolate Rolls
When you think about chocolate rolls, the mere idea evokes thoughts of rich, fluffy, and sweet delights just waiting to melt in your mouth. As you embark on this delicious journey, it’s common to have a few questions. Here are answers to some frequently asked questions to enhance your baking experience.
How can I achieve a softer dough?
To create the perfect chocolate roll, consider using warm ingredients like milk or melted butter. Adding extra moisture by incorporating a little more liquid or using an all-purpose flour blend can also help to yield a softer, more pliable dough. Don’t forget to knead gently; overworking the dough can lead to a denser texture.
What’s the best way to store leftover chocolate rolls?
If you’re lucky enough to have leftovers, store your chocolate rolls in an airtight container at room temperature for up to two days. To keep them fresh longer, you can refrigerate them for about a week. Just reheat them slightly in the oven or microwave for a delicious treat!
Can I make chocolate rolls in advance?
Absolutely! You can prepare the dough a day ahead and simply refrigerate it. Shape the rolls and let them rise before baking for the freshest taste possible. Alternatively, you can bake them, then freeze them for up to three months. When ready to enjoy, thaw and warm in the oven.
How can I add more chocolate flavor?
For chocoholics, mixing chocolate chips into the dough or drizzling melted chocolate on top before serving is a surefire way to amp up the chocolatey goodness. You could also consider using cocoa powder in both the dough and filling to enhance the flavor.
Are there any variations for chocolate rolls?
The beauty of chocolate rolls is their versatility. Beyond traditional chocolate, you can experiment with fillings like Nutella, or add flavors such as orange zest or peppermint extract. For a twist, you might even try incorporating nuts or dried fruits to bring an interesting texture to your dessert.
These insights should help you enjoy creating your delightful chocolate rolls while exploring the endless possibilities! Happy baking!
Conclusion on Chocolate Rolls
In wrapping up our delightful journey through the art of crafting chocolate rolls, it’s clear that this recipe is not just about satisfying your sweet tooth, but also about creating memorable experiences. Imagine unrolling that warm, gooey chocolate filling on a cozy weekend or for a special celebration.
- These rolls are versatile and can be enjoyed for breakfast or as a decadent dessert.
- Use high-quality chocolate for an richer flavor, and don’t hesitate to experiment with fillings like nuts or fruit.
So, whether you’re baking for loved ones or treating yourself, chocolate rolls will surely become a favorite in your culinary repertoire. Go ahead, roll with it!
Print
Chocolate Cinnamon Rolls
- Total Time: 2 hours 30 minutes
- Yield: 12 rolls 1x
- Diet: Vegetarian
Description
Delicious chocolate cinnamon rolls made from scratch, perfect for breakfast or dessert!
Ingredients
Scale
- 1 cup (240 ml) milk (lukewarm, about 120-130°F)
- 2 ¼ teaspoons instant yeast
- ⅓ cup (100 g) granulated sugar (divided)
- 2 large eggs (room temperature)
- 6 Tablespoons (85 g) unsalted butter (melted and slightly cooled, not hotter than 110°F)
- 4–5 cups (480 – 600 g) all-purpose flour (spooned and leveled)
- 1 teaspoon salt
- ½ cup (113 g, 1 stick) unsalted butter (softened to room temperature)
- ½ cup (64 g) powdered sugar
- ¼ cup (21 g) Dutch-process cocoa powder
- ½ teaspoon vanilla extract
- 4 ounces semi-sweet or bittersweet chocolate (chopped)
- 1 cup (113 g) powdered sugar
- ¼ cup (21 g) Dutch cocoa powder
- ½ teaspoon vanilla extract
- 3–4 Tablespoons milk (or heavy cream)
Instructions
- Proof yeast: Stir together the warmed milk, yeast, and 1 teaspoon of the sugar. Let sit for 5-10 minutes until the yeast mixture becomes foamy and bubbly.
- Make dough: In a bowl of your stand mixer with a paddle attachment, add in the eggs and melted butter and stir to combine. Then add in the rest of the sugar, flour, and salt, and stir to combine until a shaggy dough comes together.
- Knead the dough: Fit the mixer with a dough hook attachment, and knead at medium speed for 6-8 minutes. If the dough is super sticky, add additional flour a little at a time if needed.
- Let the dough rise: Lightly grease a large bowl, and place dough into the bowl, turning once to coat. Cover the bowl and allow it to rise until doubled in size, about 1 to 1 1/2 hours.
- Prepare Pan: Grease a 9×13 baking pan with non-stick spray or butter.
- Make filling: Place butter, sugar, cocoa, and vanilla in a mixing bowl and beat until combined. It should be a very soft paste that you will be able to spread easily.
- Roll out the dough: Turn the dough out onto a lightly floured surface, and roll out the dough into a 18×12 inches rectangle.
- Spread filling: Spread the dough with the softened butter mixture leaving about a ½-inch border at the top long edge. Sprinkle the chopped chocolate over the butter, pressing down lightly to adhere.
- Cut rolls: Starting on the long edge with filling, roll up the dough tightly into a log. Pinch the dough to seal. Cut the log into 12 equal rolls.
- Let rise: Cover the baking dish and let rise in a warm, draft-free place for 45 minutes until the rolls are slightly puffy.
- Bake rolls: Preheat the oven to 350°F/177°C. Bake rolls for 30-35 minutes until golden brown. Let cool in the pan for about 20 minutes.
- Make the glaze: In a small bowl whisk together the powdered sugar, cocoa powder, vanilla, and milk. Spread on top of the cinnamon rolls.
Notes
- For a fluffier roll, ensure that your yeast is fresh and proofed properly.
- Adjust the amount of flour as needed to achieve the right dough consistency.
- Prep Time: 20 minutes
- Cook Time: 35 minutes
- Category: Dessert
- Method: Baking
- Cuisine: American
Nutrition
- Serving Size: 1 roll
- Calories: 250
- Sugar: 14 g
- Sodium: 180 mg
- Fat: 9 g
- Saturated Fat: 5 g
- Unsaturated Fat: 2 g
- Trans Fat: 0 g
- Carbohydrates: 39 g
- Fiber: 1 g
- Protein: 3 g
- Cholesterol: 50 mg